
Matplotlib Line chart
Python hosting: Host, run, and code Python in the cloud!
Matplotlib is a popular Python library that allows users to create a variety of visualizations, including line charts. This guide provides step-by-step instructions on how to create a line chart using Matplotlib. Let’s get started!
Creating a line chart in Matplotlib is straightforward with the plot() function. This guide offers a comprehensive tutorial on the various customization and enhancements available in Matplotlib for line charts.
Matplotlib offers versatility beyond just plotting a basic line. It provides options to define the grid, x and y axis scales, labels, titles, and many other display features.
Related course:
Basic Line Chart Example
Consider the example below which illustrates the process of creating a basic line chart.
1 | from pylab import * |
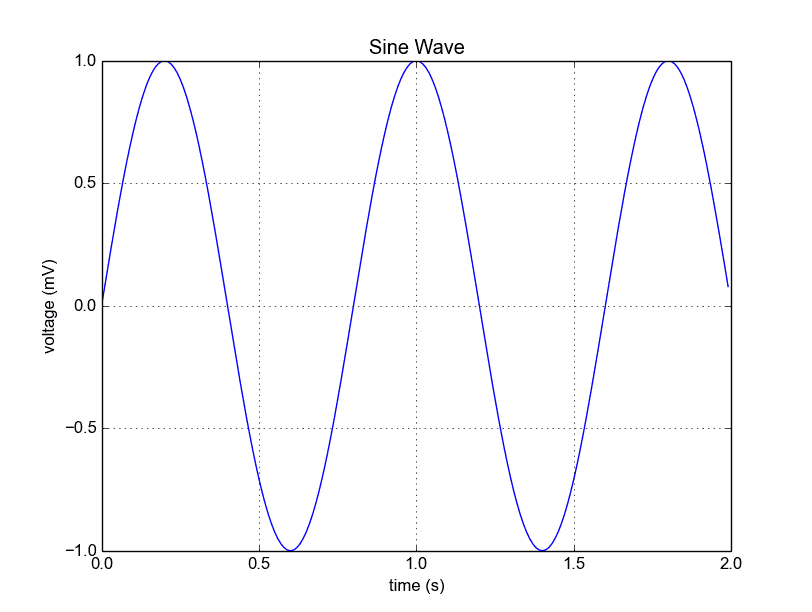
The above code is initialized by defining the data to be plotted. The plot(t, s) function is then called to render the chart. The additional commands, like xlabel(), ylabel(), and title(), help set the x-axis text, y-axis text, and the chart title, respectively. The grid(True) command activates the grid display.
To save the plot to disk, use the savefig("line_chart.png") command.
Custom Line Chart
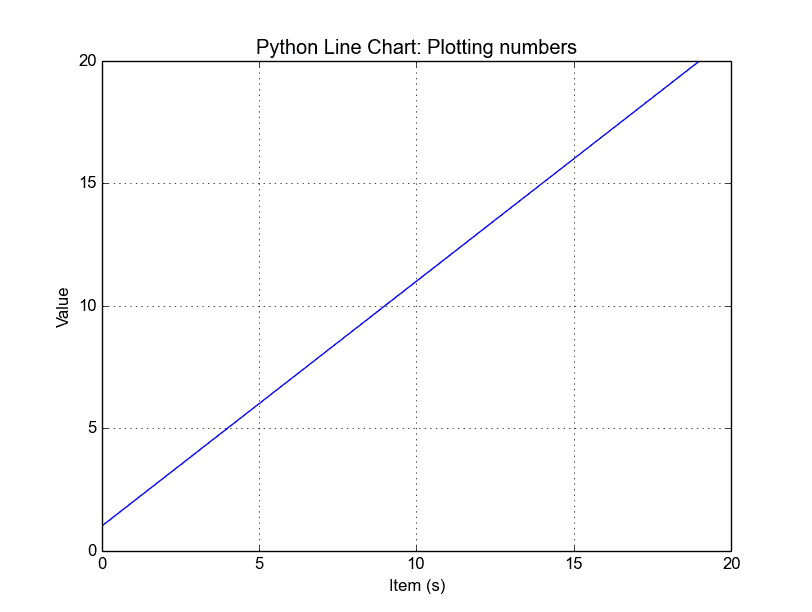
Matplotlib also supports plotting using lists or arrays. Here’s how you can plot a line chart using a list:
1 | from pylab import * |
Multiple Plots
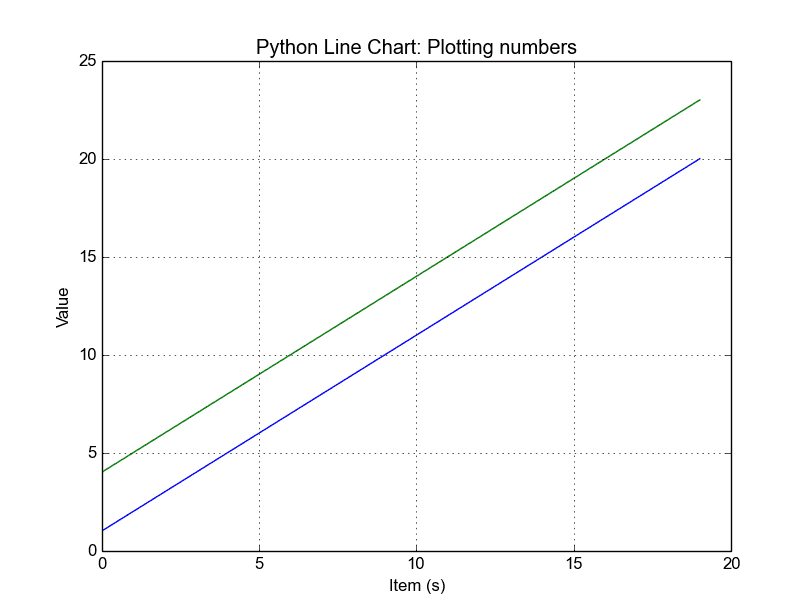
To create a chart with multiple lines, you simply need to call the plot() function multiple times, as demonstrated below:
1 | from pylab import * |
For displaying multiple plots in different sections of the same window, consider the following example:
1 | import matplotlib.pyplot as plt |
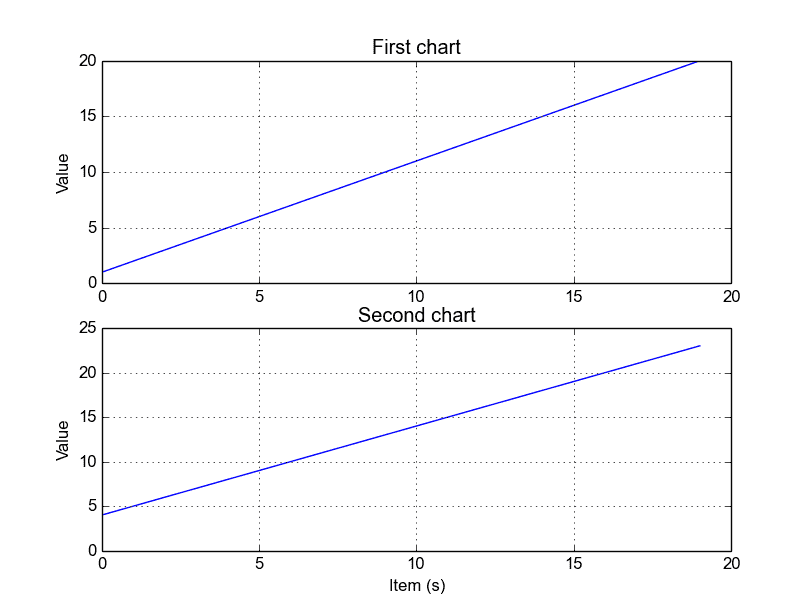
The function plt.subplot() is crucial in this context. It allows you to specify the number of rows, columns, and the figure number.
Styling the Plot
For a customized appearance of the line chart, like setting a specific color or line thickness, the following command can be used:
1 | plot(t, s, color="red", linewidth=2.5, linestyle="-") |
For further insights and sample codes, you can download the Matplotlib examples here.
Leave a Reply: