django tutorial
Python hosting: Host, run, and code Python in the cloud!
Django
If you want to start with python web development, you could use a web framework named Django. It is designed to be fast, secure and scalable. It comes with an object-relational mapper (ORM), which means that objects in Python are mapped to objects in a database.
Applications created with Django are separated in three separate layers: model (database), view (appearance) and controller (logic), or shortly themodel-view-controller (MVC) architecture.
Related course:
Setting up Django
Start with:
django-admin startproject mysiteThis will create the directory mysite. Open mysite/mysite/settings.py. You can configure your desired database here:
DATABASES = { |
python manage.py runserver |
|
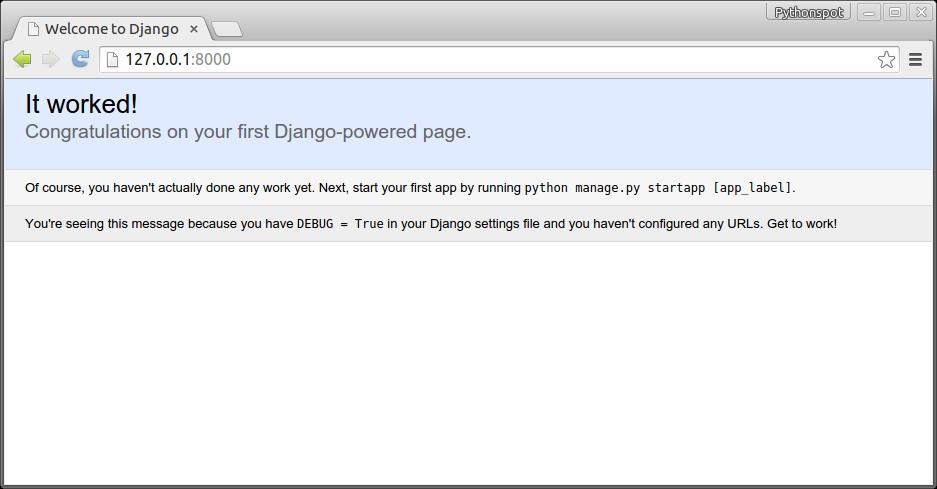 Our first Django app.
python manage.py startapp notesThis creates the files:
notes/
    __init__.py
    admin.py
    migrations/
        __init__.py
    models.py
    tests.py
    views.py
Related course:
Intro to Django Python Web Apps
Django database model
Change /mysite/notes/models.py to:
from django.db import models |
Open /mysite/mysite/settings.py, add the web app:
INSTALLED_APPS = ( |
Run
python manage.py syncdb
which will update the database. We then update /mysite/mysite/admin.py to:
from django.contrib import admin |
Run:
python manage.py makemigrations notes |
Start your server using:
manage.py runserver
Once you open up the admin panel http://127.0.0.1:8000/admin, Notes will appear on the page: <caption id=”attachment_1715” align=”alignnone” width=”830”]
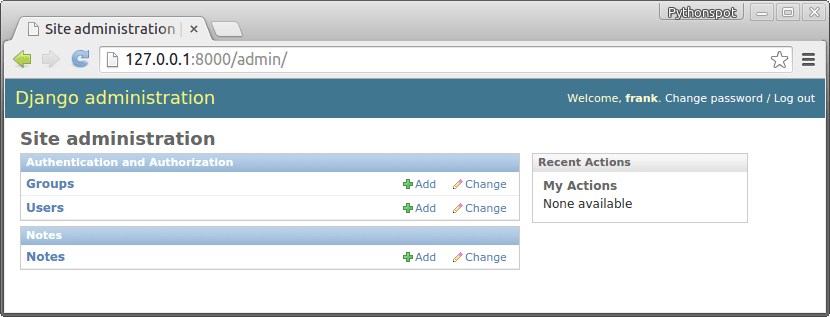 Django admin panel
If you click on notes you can view all notes and add/delete them:
<caption id=”attachment_1720” align=”alignnone” width=”839”]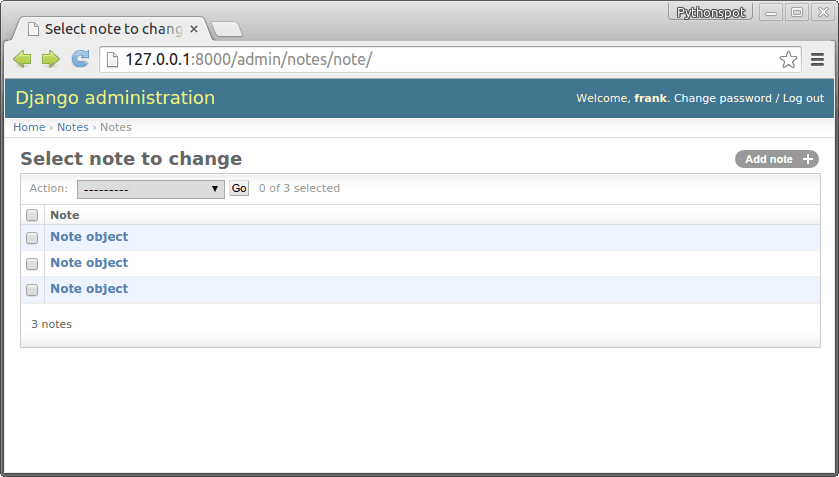 Django database admin menu.
Related course:
Intro to Django Python Web Apps
Show the data
We have all our data in the database, now we want to create our app. Open /mysite/settings.py and add:
#print "base dir path", BASE_DIR |
to the bottom of the file. This defines the directory of our templates (html).
Change /mysite/mysite/urls.py to:
from django.conf.urls import patterns, include, url |
Finally create /mysite/static/templates/ and add note.html, which is a simple static html file.
|
Open http://127.0.0.1:8000/ to test if works. Change note.html to:
|
Then open /mysite/notes/views.py and change to:
from django.shortcuts import render, render_to_response, RequestContext |
Once you fire up your browser you will see the list of notes:
<caption id=”attachment_1723” align=”alignnone” width=”541”]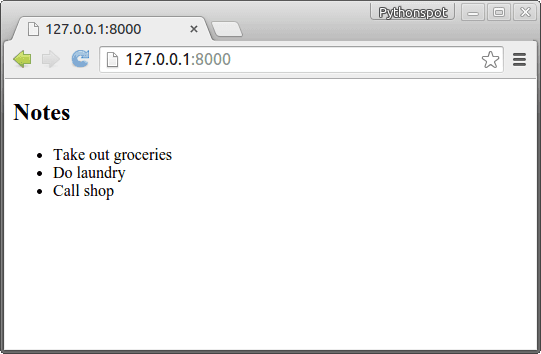 django app
Related course:
Intro to Django Python Web Apps
Insert data
While it’s nice to have a list, we want to add some notes to it.
Create the file /mysite/notes/forms.py
from django import forms |
Change view.py to:
from django.shortcuts import render, render_to_response, RequestContext |
Finally we update note.html to:
|
Run it and we have our note taking app :-)
<caption id=”attachment_1726” align=”alignnone” width=”635”]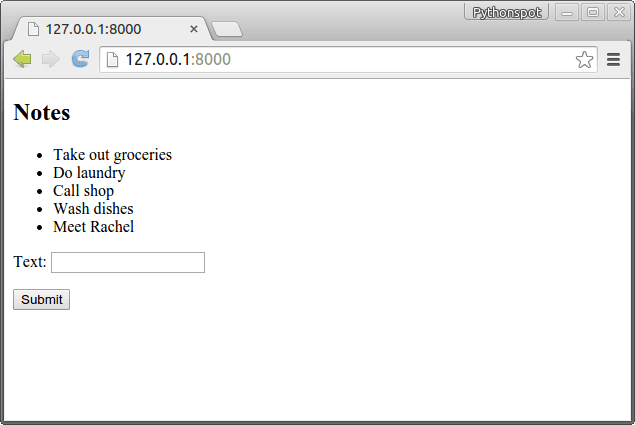 Djano note taking app
Styling the app
By modifying the note.html we can style it like any other html/css website. If you change note.html to:
|
You will get:
<caption id=”attachment_1729” align=”alignnone” width=”1189”]
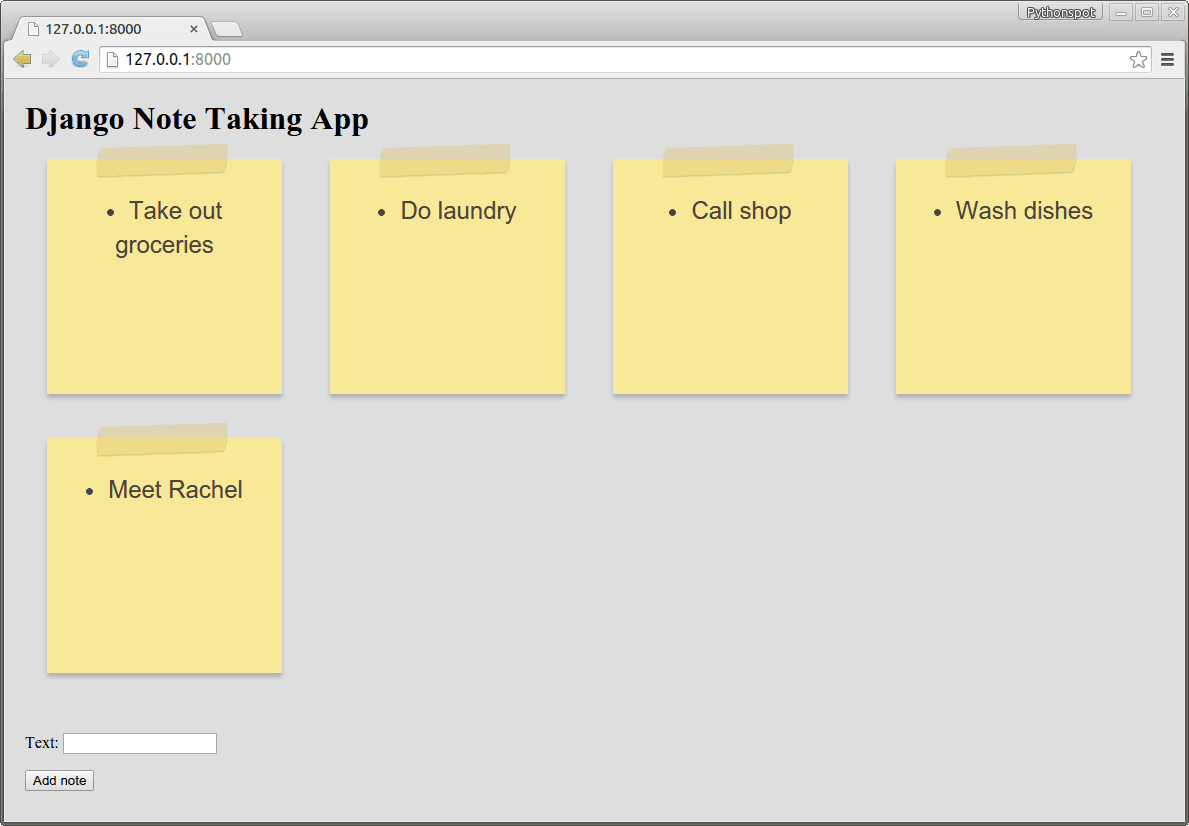 Django note taking app
Related course:
Intro to Django Python Web Apps

Leave a Reply:
Thank you for your tutorial. I am totally new to Django. I have learnt a lot from your tutorial. Please kindly fix the following, so that your tutorial can help more people.
When running "python manage.py syncdb", I was asked to create a superuser, and I have to create one otherwise I cannot log in to admin page.
You have installed Django's auth system, and don't have any superusers defined.
Would you like to create one now? (yes/no):
"We then update /mysite/mysite/admin.py to:"
=> "We then update /mysite/notes/admin.py to:"
"Open /mysite/settings.py and add:"
=> "Open /mysite/mysite/settings.py and add:"
TEMPLATES is used instead of TEMPLATE_DIRS starting from Django 1.8
'DIRS': [ os.path.join(BASE_DIR, "static", "templates"), ],
** In fact, the TemplateDoesNotExist error caused by TEMPLATE_DIRS has bothered me for at least a couple of hours...
"fields" has to be specified in a ModelForm's Meta starting from Django 1.8
fields = ( 'text', )
or, fields = "__all__"