Tag: MVC
Python hosting: Host, run, and code Python in the cloud!
Django
If you want to start with python web development, you could use a web framework named Django. It is designed to be fast, secure and scalable. It comes with an object-relational mapper (ORM), which means that objects in Python are mapped to objects in a database.
Applications created with Django are separated in three separate layers: model (database), view (appearance) and controller (logic), or shortly themodel-view-controller (MVC) architecture.
Related courses
Setting up Django
Start with:
django-admin startproject mysite
This will create the directory mysite. Open mysite/mysite/settings.py. You can configure your desired database here:
DATABASES = { 'default': { 'ENGINE': 'django.db.backends.sqlite3', 'NAME': os.path.join(BASE_DIR, 'db.sqlite3'), } } |
Pick from sqlite3, postgresql_psycopg2, mysql or oracle. Name is the name of your database. If you use SQLite the database will be created automatically. For MySQL and Postgresql you need to create the database yourself. Go up one directory to /mysite/ and run:
python manage.py runserver |
The terminal should say:
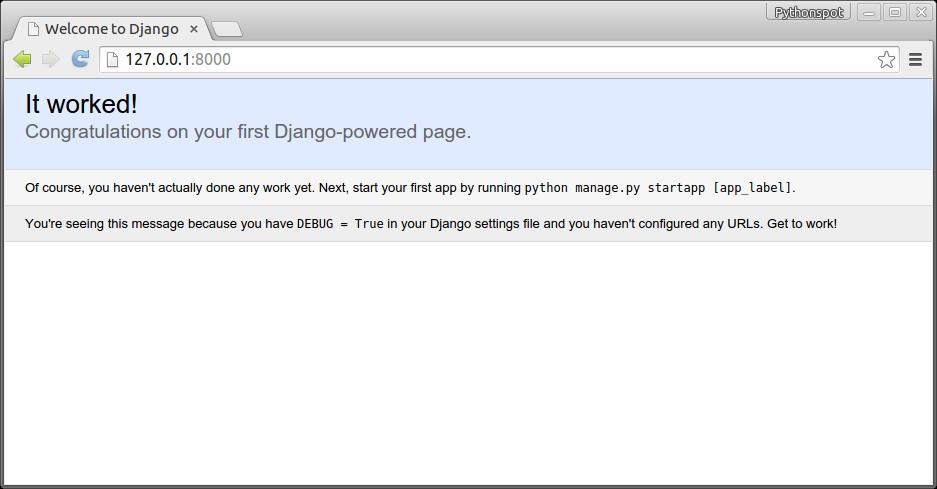
Performing system checks... System check identified no issues (0 silenced). You have unapplied migrations; your app may not work properly until they are applied. Run 'python manage.py migrate' to apply them. August 16, 2015 - 14:45:29 Django version 1.7.1, using settings 'myapp.settings' Starting development server at http://127.0.0.1:8000/ Quit the server with CONTROL-C. [16/Aug/2015 14:45:35] "GET / HTTP/1.1" 200 1759 |
Open http://127.0.0.1:8000 in your web browser and you should see:
Now we created a project, we create an app. A project can have many apps.
python manage.py startapp notes
This creates the files:
notes/
    __init__.py
    admin.py
    migrations/
        __init__.py
    models.py
    tests.py
    views.py
Django database model
Change /mysite/notes/models.py to:
from django.db import models class Note(models.Model): text = models.CharField(max_length=120) created = models.DateTimeField(auto_now_add=True) |
Open /mysite/mysite/settings.py, add the web app:
INSTALLED_APPS = ( 'django.contrib.admin', 'django.contrib.auth', 'django.contrib.contenttypes', 'django.contrib.sessions', 'django.contrib.messages', 'django.contrib.staticfiles', 'notes' ) |
Run
python manage.py syncdb
which will update the database. We then update /mysite/mysite/admin.py to:
from django.contrib import admin # Register your models here. from .models import Note class NoteAdmin(admin.ModelAdmin): class Meta: model = Note admin.site.register(Note,NoteAdmin) |
Run:
python manage.py makemigrations notes python manage.py migrate |
Start your server using:
manage.py runserver
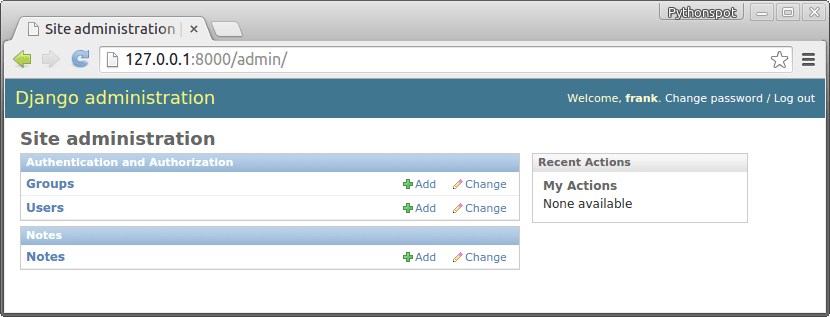
Once you open up the admin panel http://127.0.0.1:8000/admin, Notes will appear on the page:
If you click on notes you can view all notes and add/delete them:

Show the data
We have all our data in the database, now we want to create our app. Open /mysite/settings.py and add:
#print "base dir path", BASE_DIR #print os.path.join(os.path.dirname(BASE_DIR), "mysite", "static", "templates") TEMPLATE_DIRS = ( os.path.join(os.path.dirname(BASE_DIR), "mysite", "static", "templates"), #'/home/frankbox/python/djangoapp/mysite/static/templates', ) |
to the bottom of the file. This defines the directory of our templates (html).
Change /mysite/mysite/urls.py to:
from django.conf.urls import patterns, include, url from django.contrib import admin urlpatterns = patterns('', # Examples: # url(r'^$', 'mysite.views.home', name='home'), # url(r'^blog/', include('blog.urls')), url(r'^$', 'notes.views.home', name='home'), url(r'^admin/', include(admin.site.urls)), ) |
Finally create /mysite/static/templates/ and add note.html, which is a simple static html file.
<b>Hello</b> |
Open http://127.0.0.1:8000/ to test if works. Change note.html to:
<h2>Notes</h2> <ul> {% for note in notes.all %} <li>{{ note.text }}</li> {% endfor %}</ul> |
Then open /mysite/notes/views.py and change to:
from django.shortcuts import render, render_to_response, RequestContext from django.template import RequestContext, loader from django.http import HttpResponse from .models import Note # Create your views here. def home(request): notes = Note.objects template = loader.get_template('note.html') context = {'notes': notes} return render(request, 'note.html', context) #return render_to_response("note.html", notes) |
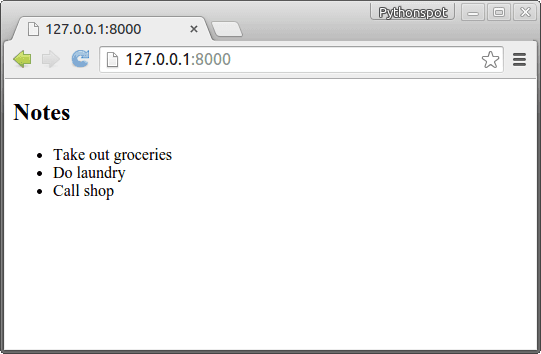
Once you fire up your browser you will see the list of notes:
Insert data
While it’s nice to have a list, we want to add some notes to it.
Create the file /mysite/notes/forms.py
from django import forms from .models import Note class NoteForm(forms.ModelForm): class Meta: model = Note |
Change view.py to:
from django.shortcuts import render, render_to_response, RequestContext from django.template import RequestContext, loader from django.http import HttpResponse from .models import Note from .forms import NoteForm # Create your views here. def home(request): notes = Note.objects template = loader.get_template('note.html') form = NoteForm(request.POST or None) if form.is_valid(): save_it = form.save(commit=False) save_it.save() context = {'notes': notes, 'form': form} return render(request, 'note.html', context) #return render_to_response("note.html", notes) |
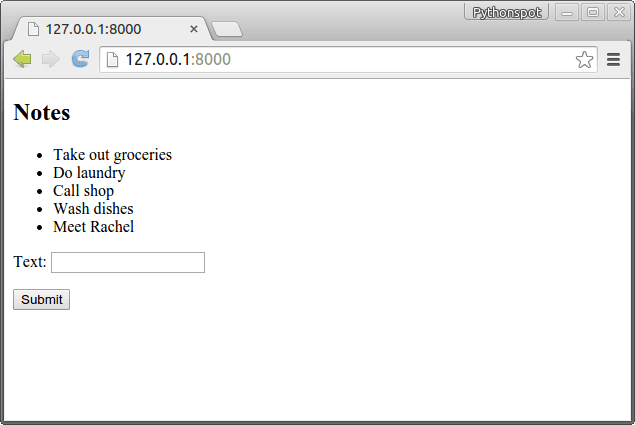
Finally we update note.html to:
<h2>Notes</h2> <ul> {% for note in notes.all %} <li>{{ note.text }}</li> {% endfor %}</ul> <form method="POST" action="">{% csrf_token %} {{ form.as_p }} <input type="submit"> </form> |
Run it and we have our note taking app 🙂
Styling the app
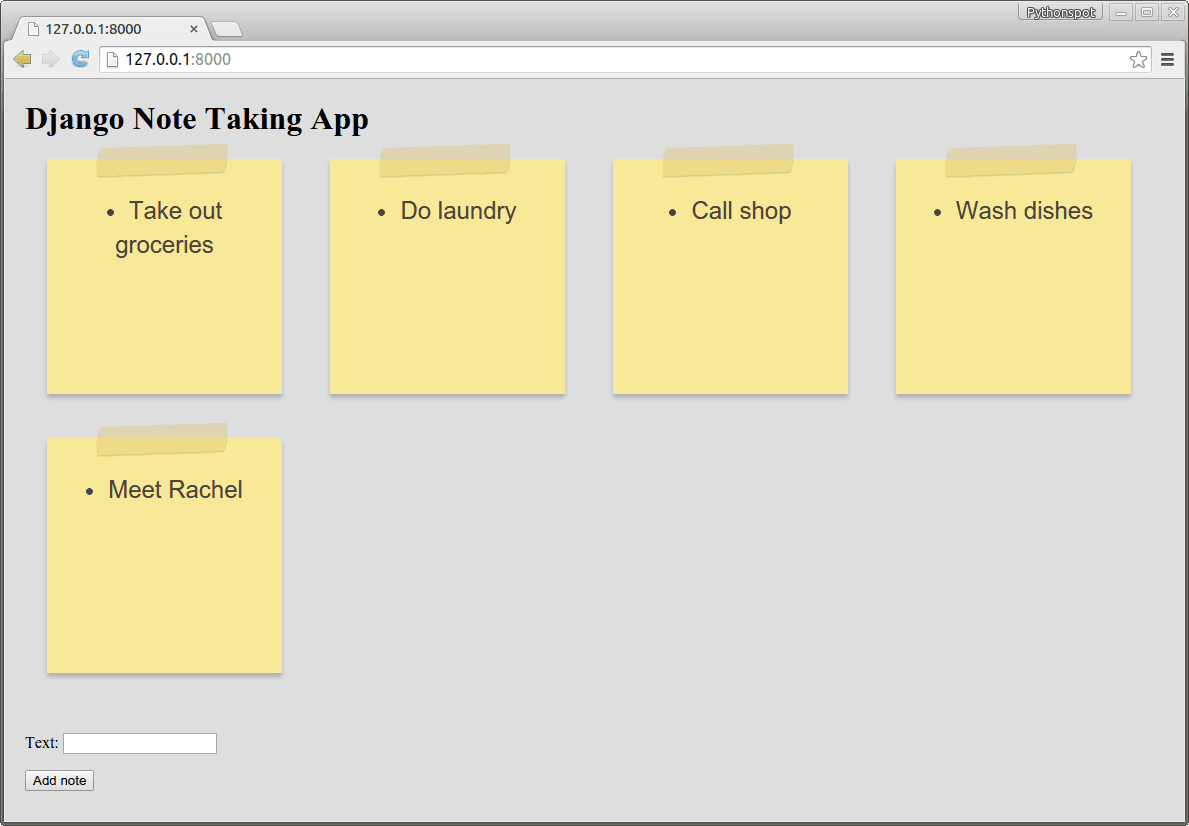
By modifying the note.html we can style it like any other html/css website. If you change note.html to:
<link href="http://codepen.io/edbond88/pen/CcgvA.css" media="screen" rel="stylesheet" type="text/css"> <style> body {<br /> background: rgba(222,222,222,1);<br /> margin: 20px;<br /> }<br /> </style> <h1>Django Note Taking App</h1> {% for note in notes.all %} <aside class="note-wrap note-white"> <li>{{ note.text }}</li> </aside> {% endfor %} <form method="POST" action="">{% csrf_token %} {{ form.as_p }} <input type="submit" value="Add note"> </form> |
You will get: