
Tag: qt
pyqt text box

In this article you will learn how to interact with a textbox using PyQt4.
If you want to display text in a textbox (QLineEdit) you could use the setText() method.
Related course:
PyQt4 QLineEdit
The textbox example below changes the text if the button is pressed.
|
The text field is created with the lines:
|
The button (from screenshot) is made with:
|
We connect the button to the on_click function by:
|
This function sets the textbox using setText().
Download PyQT Code (Bulk Collection)
Qt4 window
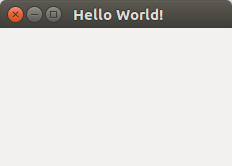
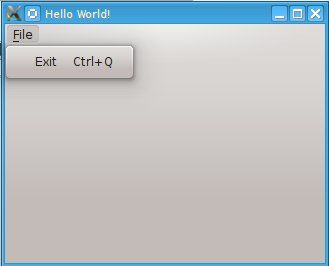
In this tutorial you will learn how to create a graphical hello world application with PyQT4.
PyQT4, it is one of Pythons options for graphical user interface (GUI) programming.
Related course:
PyQt4 window example:
This application will create a graphical window that can be minimized, maximimzed and resized it.
|
The PyQT4 module must be immported, we do that with this line:
|
We create the PyQT4 application object using QApplication():
|
We create the window (QWidget), resize, set the tittle and show it with this code:
|
Don’t forget to show the window:
|
You can download a collection of PyQt4 examples:
Download PyQT Code (Bulk Collection)
qt message box
PyQT4 offers message box functionality using several functions.
Messageboxes included in PyQT4 are: question, warning, error, information, criticial and about box.
Related course: Create GUI Apps with Python PyQt5
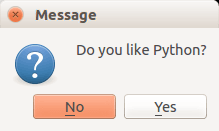
PyQt4 mesagebox
The code below will display a message box with two buttons:#! /usr/bin/env python |
Result:
There are different types of messageboxes that PyQT4 provides.
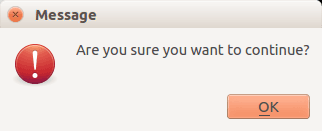
PyQT4 Warning Box
You can display a warning box using this line of code:
QMessageBox.warning(w, "Message", "Are you sure you want to continue?") |
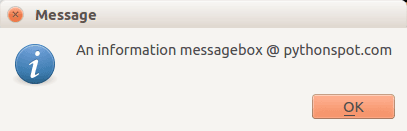
PyQT4 Information box
We can display an information box using QMessageBox.information()
QMessageBox.information(w, "Message", "An information messagebox @ pythonspot.com ") |
Result:
PyQT4 Critical Box
If something goes wrong in your application you may want to display an error message.
QMessageBox.critical(w, "Message", "No disk space left on device.") |
Result:
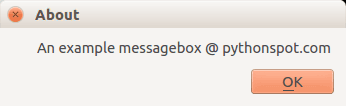
PyQT4 About box
We have shown the question box above.
QMessageBox.about(w, "About", "An example messagebox @ pythonspot.com ") |
Result:
Download PyQT Code (Bulk Collection)
pyqt menu
PyQt4 menus appear in the top of the window bar. A menu gives the user control over the application and is often location in the top of the window.
The QMainWindow class creates the main application window. This class has a method named menuBar() which adds the title bar.
Menus can be added to the title bar using addMenu(). Inside each menu you can add a command using the addAction method.
Related course:
PyQt4 menubar
This code will add a menu to your qt4 app:
#! /usr/bin/env python |
Download PyQT Code (Bulk Collection)
pyqt widgets
We have various widgets that we can access with PyQT. Including:
- Textbox
- Combobox
- Calendar
Related course: Create GUI Apps with PyQt5
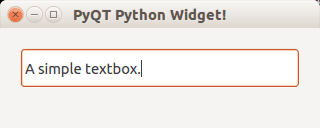
Textbox widget
Input fields are present in nearly every application. In PyQT4 an input field can be created using the QLineEdit() function.
#! /usr/bin/env python |
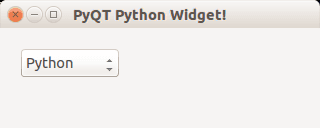
Combobox
A combobox can be used to select an item from a list.
#! /usr/bin/env python |
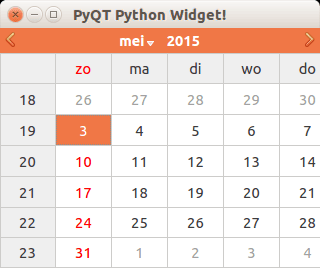
Calendar widget
The PyQT4 library has a calendar widget, you can create it using the QCalendarWidget() call.
#! /usr/bin/env python |
Result:
Download PyQT Code (Bulk Collection)
open file python
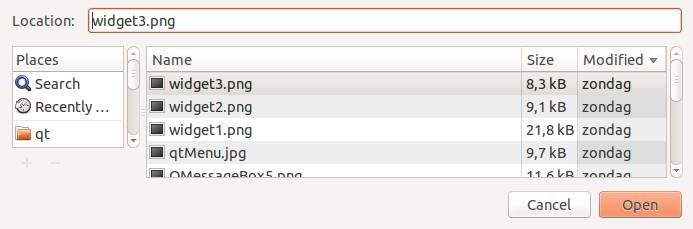
In this short tutorial you will learn how to create a file dialog and load its file contents. The file dialog is needed in many applications that use file access.
Related course:
File Dialog Example
To get a filename (not file data) in PyQT you can use the line:
filename = QFileDialog.getOpenFileName(w, 'Open File', '/') |
If you are on Microsoft Windows use
filename = QFileDialog.getOpenFileName(w, 'Open File', 'C:\') |
An example below (includes loading file data):
#! /usr/bin/env python |
Result (output may vary depending on your operating system):
Download PyQT Code (Bulk Collection)
pyqt qml
If you have not done our first PyQT tutorial yet, you should do it, it’s fun! In this tutorial we will use PyQT4 and a user interface markup language, a language that describes the graphical user interfaces and controls .
Related course:
QML and PyQT
An excerpt of user interface markup graphical user interfaces and language code could look like:
Rectangle { |
Essentially the language tells what the interface should look like. The language we will be using is called QML.
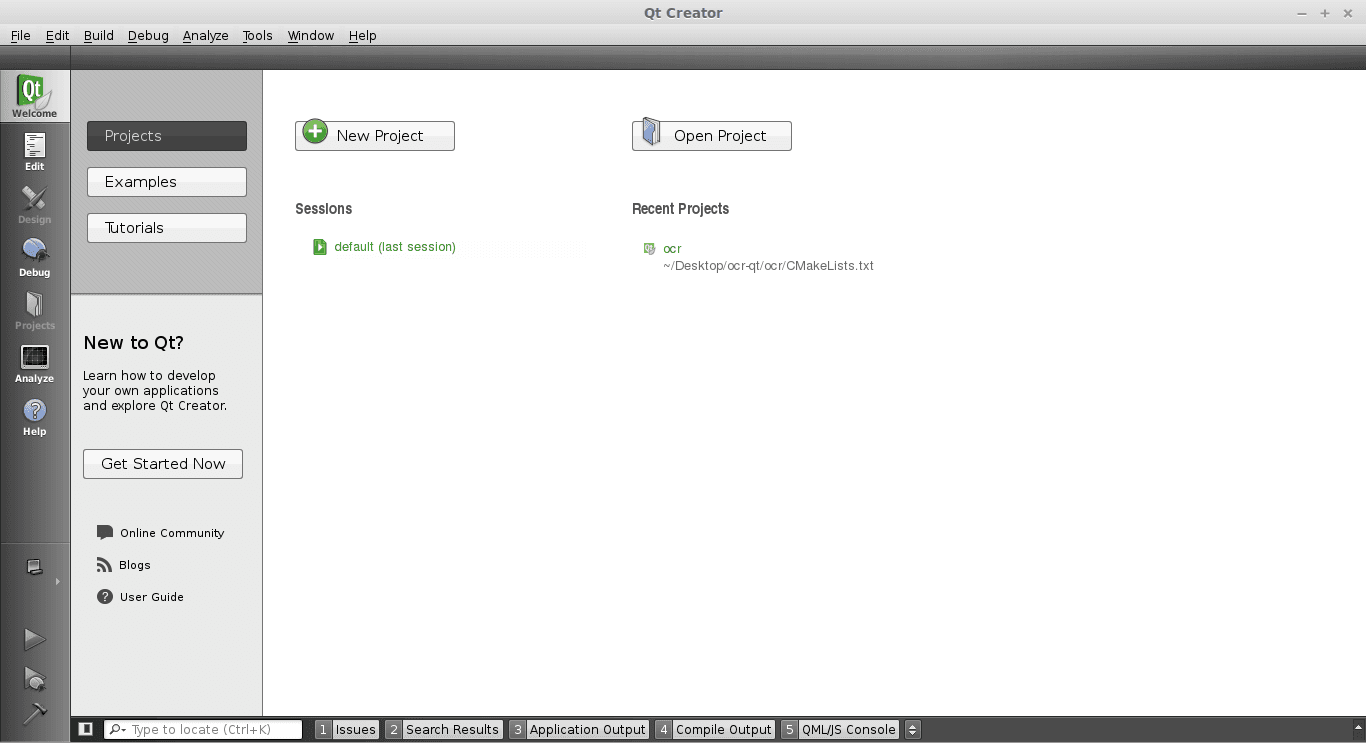
QTCreator
Start a programmed called QTCreator. The tutorial will be quite graphical to help you through the whole process. Simply type qtcreator in the terminal or start it from the menu list. This screen should pop up:
Creating a GUI
Press the big New Project button. Select QT Quick Application from the menu below. Finally press Choose on the bottom right.
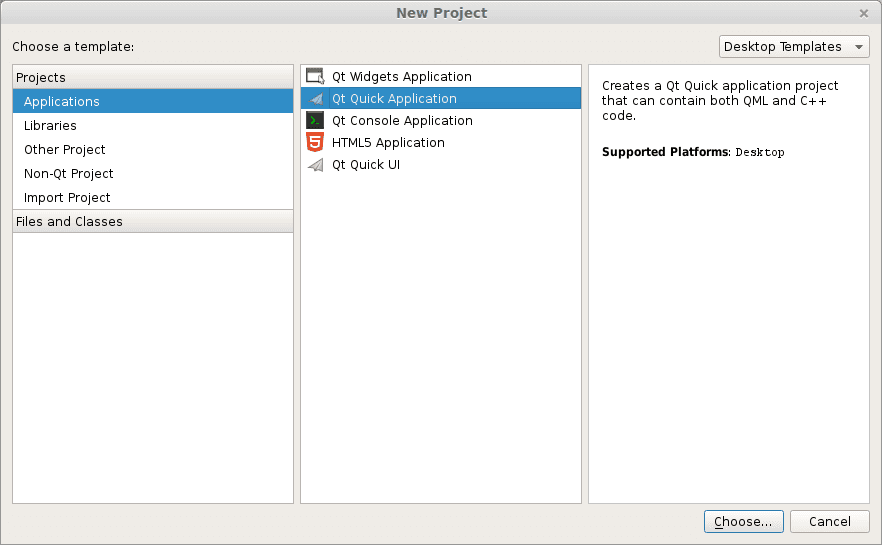
A new popup will appear:
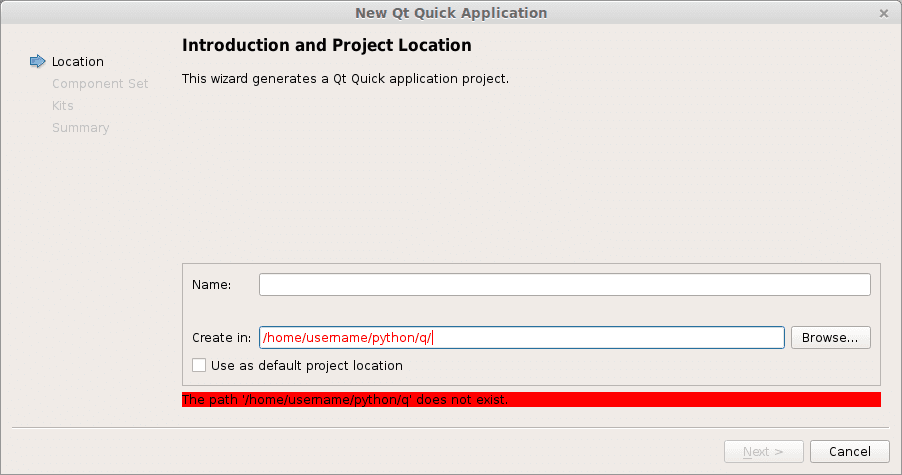
Type a name and a valid path to save your project. Then press Next. Select QT Quick 2.0 from the menu list. Press Next. Press Finish. Immediately a user interface defined in the QML language will appear.
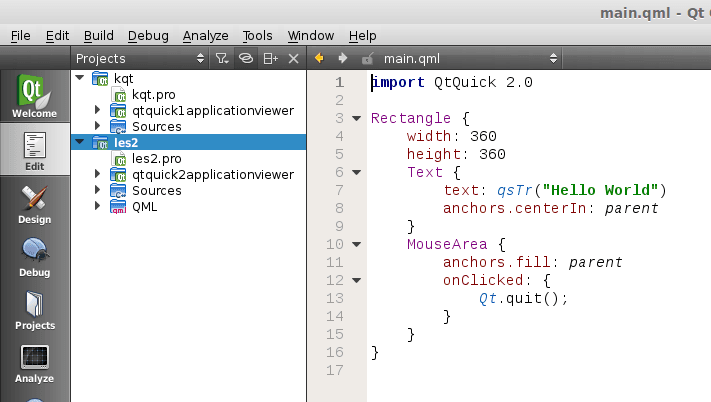
Like all great programmers we are going to solve things the most lazy way possible. Instead of typing all the QML code by hand we are going to press the Design button that is on the left of the screen. A drag and drop screen should appear now.
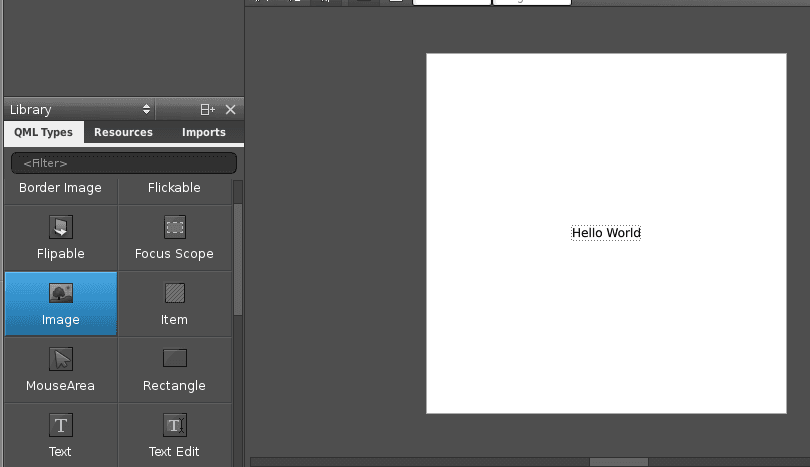
We drag an image onto the area and select the source on the right. Save the project. Open a terminal and locate the qml file you just created. Alternatively you could simply copy the code in the edit box and save it to a .qml file. Enter the command:
qmlviewer main.qml |
This will display the windows as defined in the qml file without any functionality. It is simply a viewer for the interface. We then create some code to load this QML definition:
import sys |
Finally we modify the first line main.qml to:
import Qt 4.7 |
Simply because our QtQuick was missing. Running
python run.py |
Will now display our user interface as defined by QML:
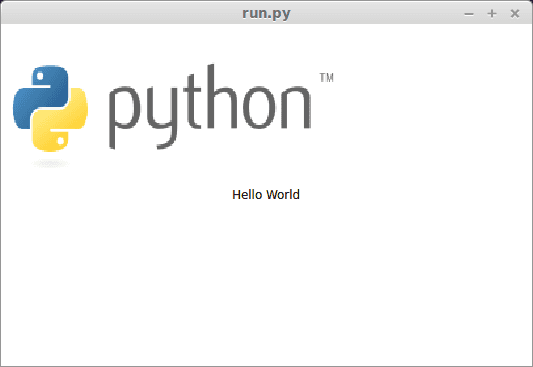
All of the code is simply PyQT, so you could add code like in the previous tutorial. These are the two methods to create a graphical interface with PyQT. This method may be more loosely coupled to the code compared to the method of creating a GUI with QT in the previous tutorial. Despite that both are valid methods.
Download PyQT4 Examples (Bulk Collection)
You may like: Application GUI with PyQT4 or the PyQt4 Tutorials