
Tk window and button
Tk button with onClick event To create a Tkinter window with a button use the example below. The program enters mainloop() which wait for events (user actions). We define the button which has a callback to the function callback(). master is the root window, the window where your button will appear in.
from Tkinter import *
master = Tk()
def callback():
    print "click!"
b = Button(master, text="OK", command=callback)
b.pack()
mainloop()
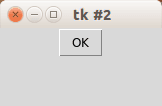 tk button
Related course
Practice Python with interactive exercises
Tk image button If you want an image button, use the PhotoImage class. We set the size of the window and the miminum size with the functions minsize() and geometry(). Example:
from Tkinter import *
master = Tk()
master.minsize(300,100)
master.geometry("320x100")
def callback():
    print "click!"
photo=PhotoImage(file="add.png")
b = Button(master,image=photo, command=callback, height=50, width=150)
b.pack()
mainloop()
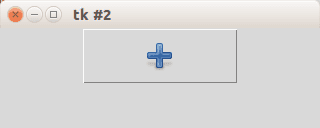 tk image button
Tk Image button with text label If you want both an image and text, simply add the parameter compound=LEFT.
from Tkinter import *
master = Tk()
master.minsize(300,100)
master.geometry("320x100")
def callback():
    print "click!"
photo=PhotoImage(file="add.png")
b = Button(master,image=photo, text="OK", command=callback, height=50, width=150, compound=LEFT)
b.pack()
mainloop()
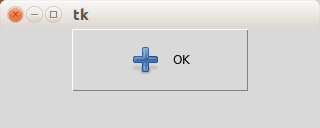 tk button with text and image
Button location If you want to place the button on your coordinates do not use the pack() function but instead use the function place(x,y), as shown in the example below:
from Tkinter import *
master = Tk()
master.minsize(300,100)
master.geometry("320x100")
def callback():
    print "click!"
photo=PhotoImage(file="add.png")
b = Button(master,image=photo, text="OK", command=callback, height=50, width=150, compound=LEFT)
b.place(x = 20, y = 20)
mainloop()
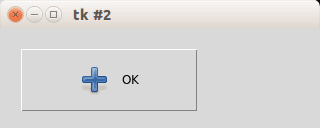 tk button location