
3d scatterplot
Matplotlib can create 3d plots. Making a 3D scatterplot is very similar to creating a 2d, only some minor differences. On some occasions, a 3d scatter plot may be a better data visualization than a 2d plot. To create 3d plots, we need to import axes3d.
Related course:
Practice Python with interactive exercises
Introduction It is required to import axes3d:
from mpl_toolkits.mplot3d import axes3dGive the data a z-axis and set the figure to 3d projection:
ax = fig.gca(projection='3d')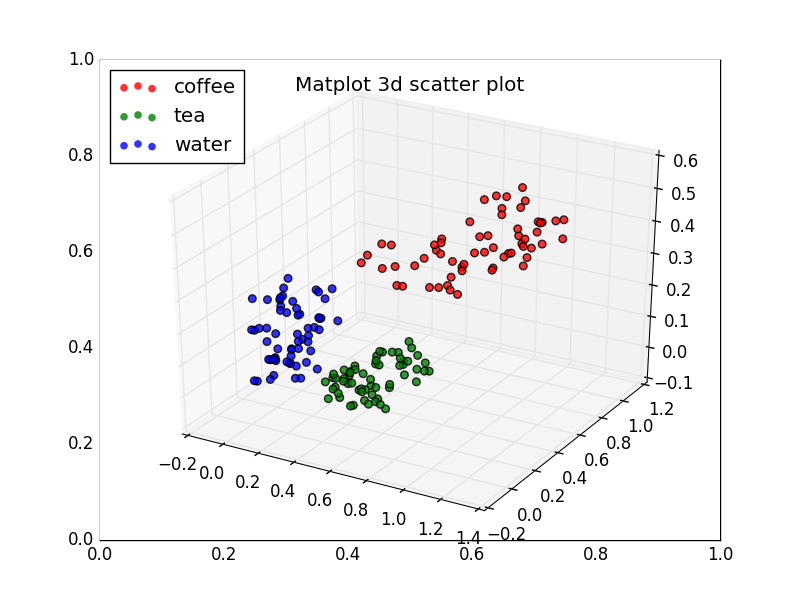 3d scatter plot with Matplotlib
3d scatterplot
Complete 3d scatterplot example below:import numpy as np
import matplotlib.pyplot as plt
from mpl_toolkits.mplot3d import axes3d
# Create data
N = 60
g1 = (0.6 + 0.6 * np.random.rand(N), np.random.rand(N),0.4+0.1*np.random.rand(N))
g2 = (0.4+0.3 * np.random.rand(N), 0.5*np.random.rand(N),0.1*np.random.rand(N))
g3 = (0.3*np.random.rand(N),0.3*np.random.rand(N),0.3*np.random.rand(N))
data = (g1, g2, g3)
colors = ("red", "green", "blue")
groups = ("coffee", "tea", "water")
# Create plot
fig = plt.figure()
ax = fig.add_subplot(1, 1, 1, axisbg="1.0")
ax = fig.gca(projection='3d')
for data, color, group in zip(data, colors, groups):
x, y, z = data
ax.scatter(x, y, z, alpha=0.8, c=color, edgecolors='none', s=30, label=group)
plt.title('Matplot 3d scatter plot')
plt.legend(loc=2)
plt.show()
The plot is created using several steps:
- vector creation (g1,g2,g3)
- list creation (groups)
- plotting